Don’t pay extra for setup, you can assemble your e-bike at home in under 30 minutes. Our complete guide will walk you through every step with ease.
Congratulations on adding a new e-bike to your arsenal. The next step is to assemble the part correctly. According to recent research, some riders claim that coupling some e-bike parts together isn’t an easy task. This is understandable, as an electric bike can sometimes seem advanced and technical.
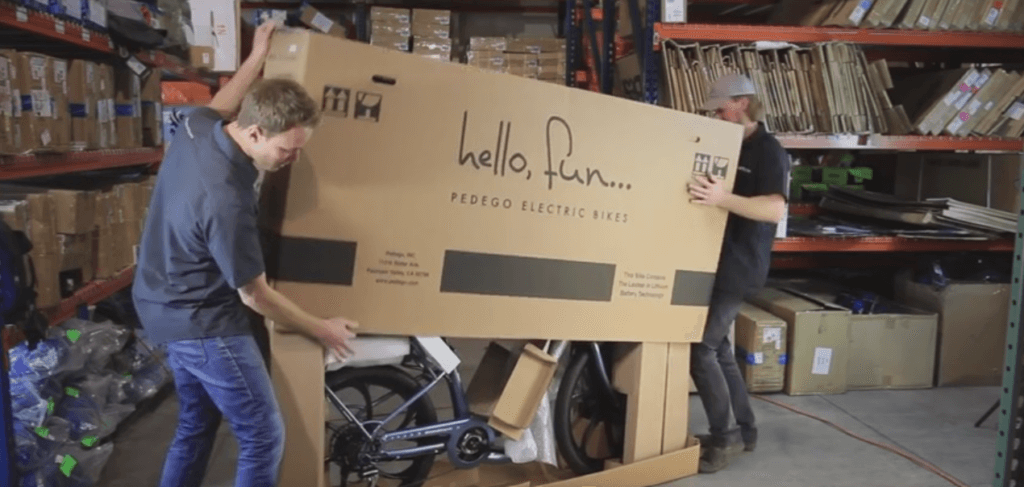
Interestingly, manufacturers are stepping up by taking care of the techy part of the setup. So, when you unbox your new e-bike, you are faced with a two-wheeled vehicle that’s over 80% pre-assembled. Therefore, to make the other 20% easy for you, we have provided a step-by-step guide on how to assemble your e-bike correctly.
Unbox Your New E-Bike
As a matter of fact, the assembly of the e-bike parts begin with unboxing. Check if the components are delivered in perfect condition. Here’s a list of what you should find in the box :
Pre-installed Components
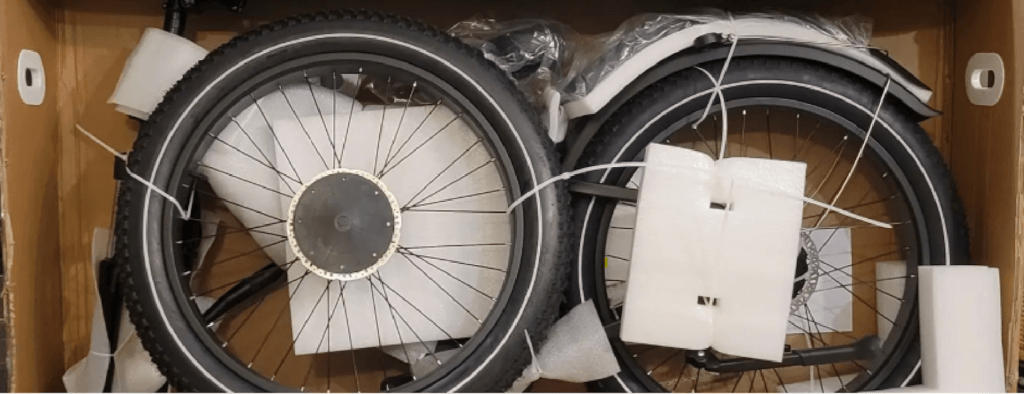
Remember, the manufacturer already done 80% of the assembling. The e-bike frames are pre-installed with a motor and battery. Dashboards and controllers are regulators and they are already attached to the frame on delivery. A brake system, either rim or disc, is also found partially fixed on the frame. Wheels and tires, are also pre-installed; most of the time, they are even packed separately.
Supporting and Essential Part
- Charging cables and bike pedals
- Kickstands are used to stand your e-bike
- Front and rear lights
- Fenders ( they protect your e-bike from splashes of water and mud)
- Handlebars and grip
- User manual
- Wiring is used in connecting the motor, battery, and controller.
- Throttle (for e-bike with a throttle mode)
- Seat
- Pedal assist sensor
- Derailleur and chain for gear shifting.
Optional Part
- Rear basket
Step-by-Step Guide on How to Fully Assemble Your E-Bike
After confirming your e-bike components are complete and are in good shape. The next step is to make your user manual a guide and get the right tools to make assembling easy. Although setting up your e-bike requires just a few tools. Tools you’ll need include:
- Torques tools
- Pedal wrench and open-end wrench
- Allen keys
- Installation screws/bolts
- Scissors
Step 1: Station the frame
Firstly, get the frame outside the box. In situations where the frame is heavy, seek support from friends or family. Either leave the bike in a standing position to assemble the frame or lay it down on the floor.
With your scissors, cut the tape around the e-bike stem, cable, and frame. Be careful around the handlebars, cable, and hose to prevent damage.
Step 2: Fix the Handlebars
Fix the handlebars using your 4mm Allen key to loosen the stem bolt when placing the handlebars at the centre of the stem. Then ensure that the marked part is directly facing the riding position. Place the stem face plate before tightening up the bolts.
You can apply the assembly paste if you notice it wasn’t added before clamping. Always ensure that the handlebars are centred. In cases where there are no scaling or marks on the handlebar, ensure there’s an oversized clamping sticking out to the right or left.
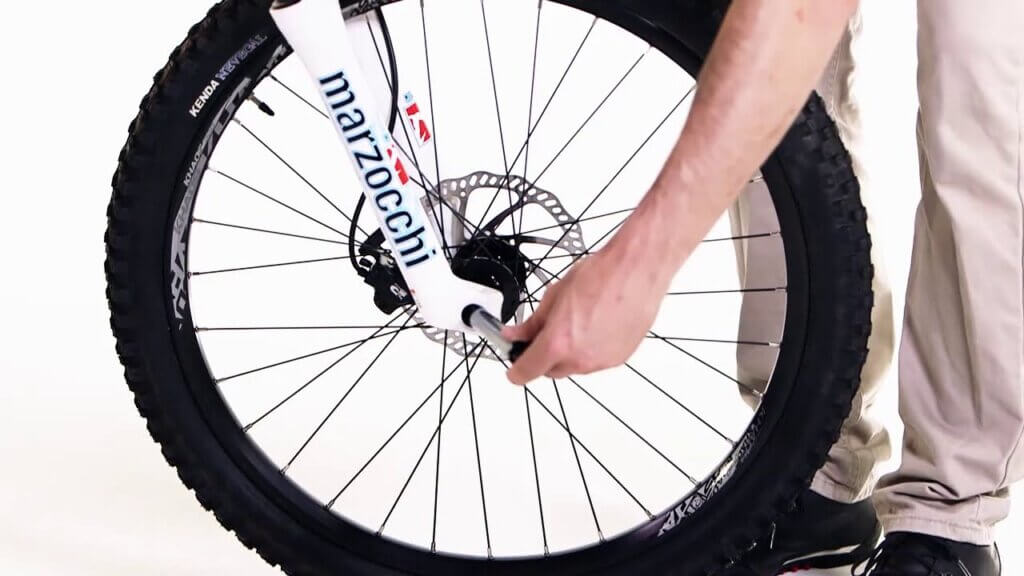
Step 3: Carefully Install the Front Wheel
For an e-bike model with a quick-release lever, it is best to insert the wheel into the front fork. Properly align all parts before tightening the quick-release skewer. Finally, close the lever once you are done.
For wheels, carefully place the axle in place, ensure they are well-aligned, and then tighten both nuts securely.
Step 4: Attach the pedals
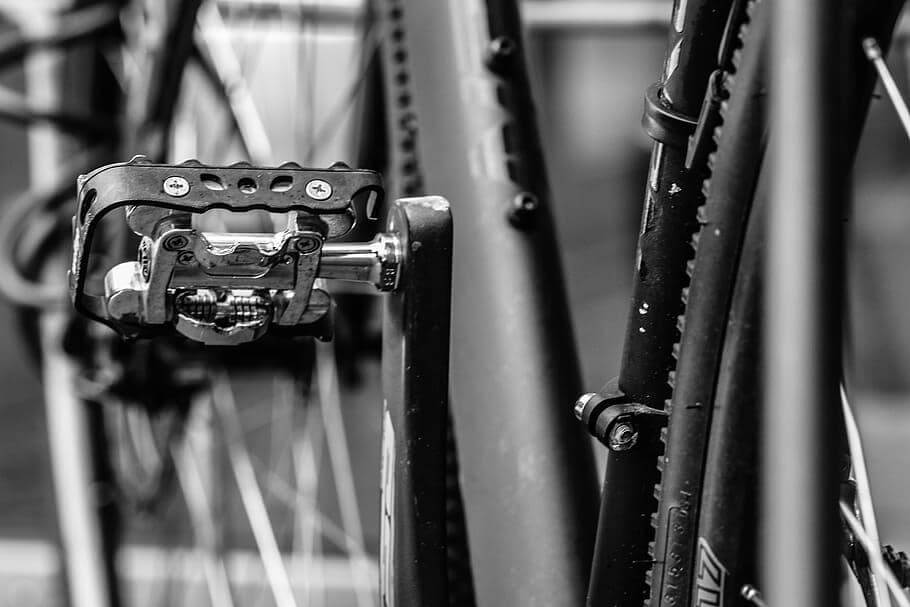
Locate the left and right pedals using the ‘L’ and ‘R’ labels. Screw the pedal into the crank arm. The R pedal should be screwed in a clockwise direction, while the L pedal should be screwed in an anticlockwise direction. Finish up by tightening both pedals with a wrench.
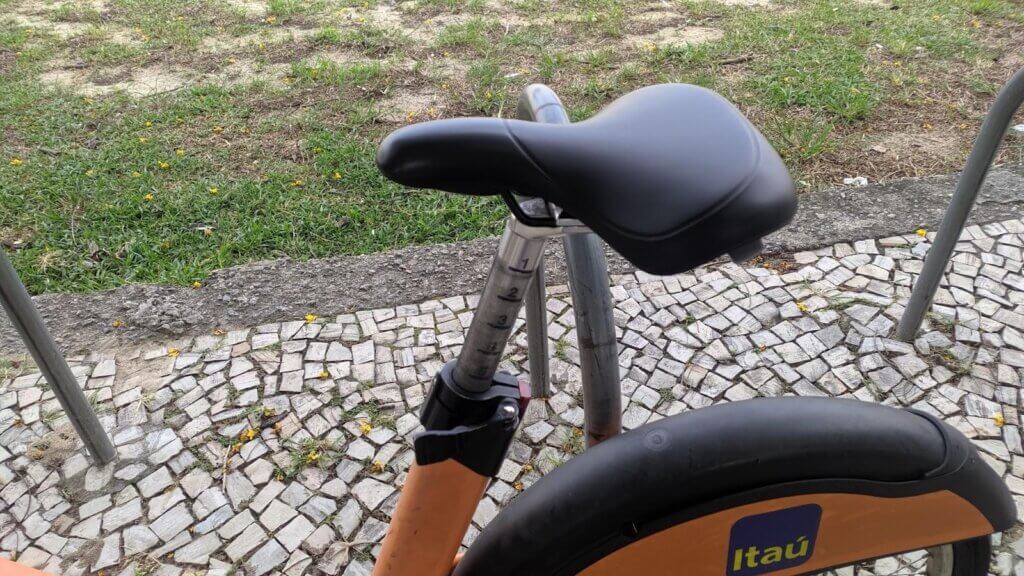
Step 5: Fix the Seat
Before setting the seat, add lubricant to the seat tube. Open the electric bike seat post quick-release lever and also carefully insert the seat into the frame. Additionally, set to your most convenient height or the line indicated on the seat post. Once height is set, you can tighten the seat clamp bolt to hold it in place.
Step 6: Install the Accessories
Some e-bikes come with the accessories already pre-installed. But if yours is not already preinstalled, you can easily mount it. Secure the front and rear lights using a screw and a bolt. Aside from light, add-ons such as a kickstand, fenders, and rear racks should also be properly screwed in.
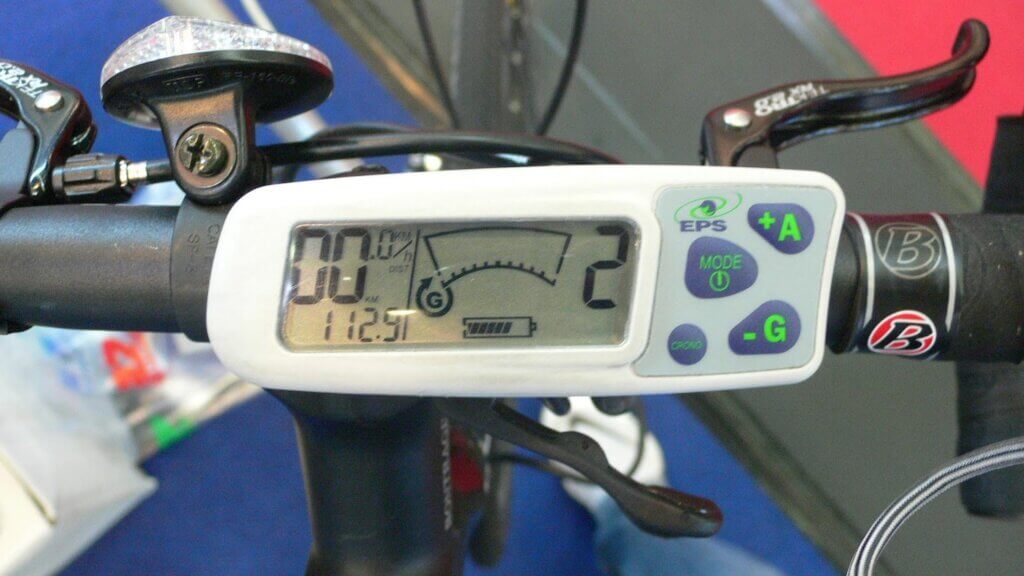
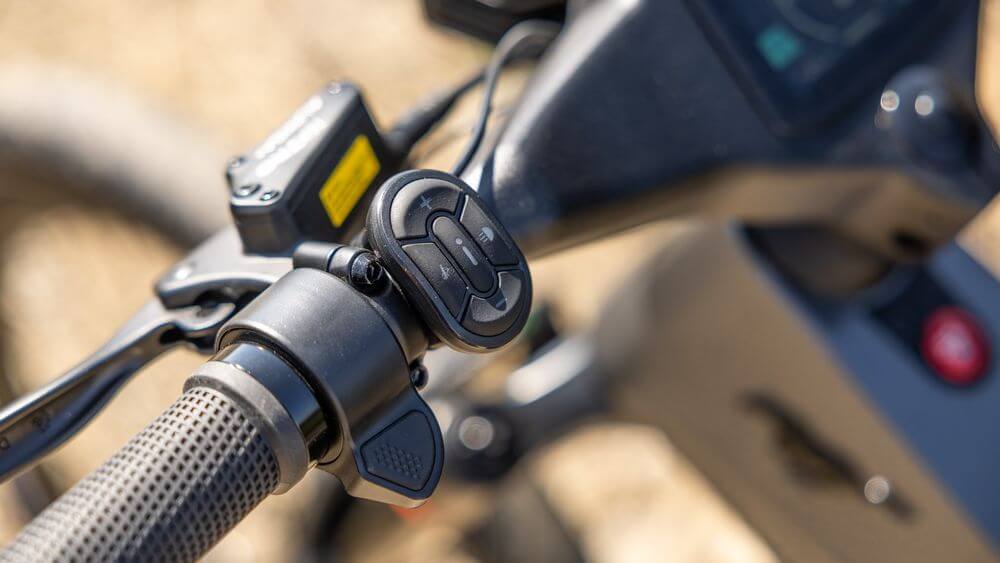
Step 7: Attaching the Display Unit
The display unit is one of the e-bike components that may or may not be installed on arrival. If yours is not already installed, quickly mount it to the handlebars in a position suitable for you.
Carefully connect the cable to the harness to ensure it’s working perfectly fine before tightening the mount.

Step 8: Secure Battery
Your e-bike frame should have a battery mount pre-installed. Therefore, locate the mount; it should be somewhere between the seat and the front wheel for most e-bikes. Slide the battery into the mount and push gently to click into place.
Step 9: Safety check
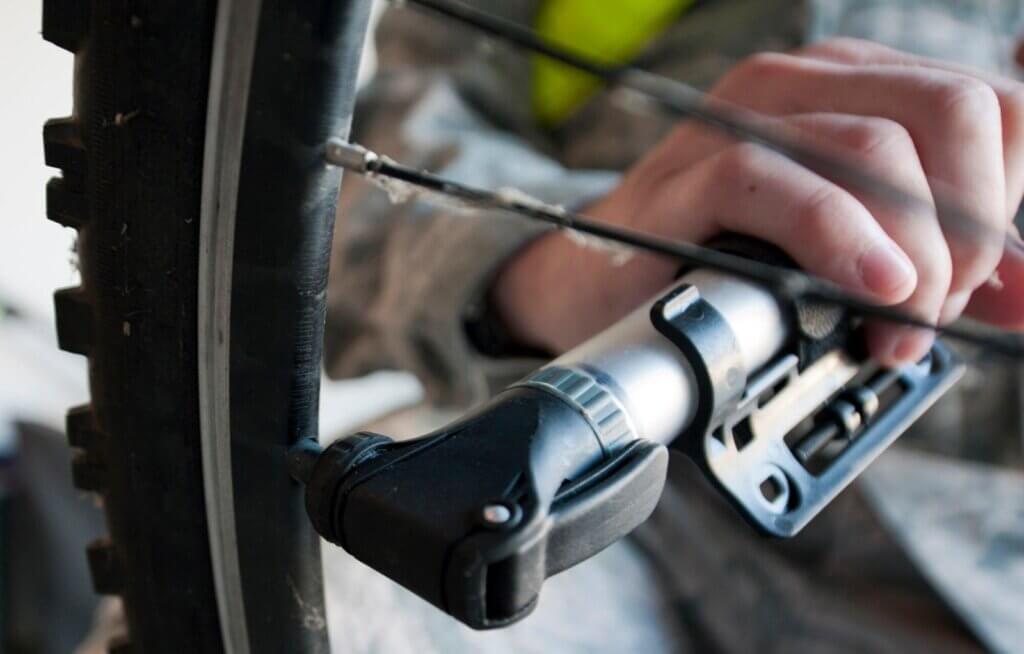
After an electric bike is set up, you need a safety check before you get on the road. Look out for any loose screw or incorrect placements and tighten them correctly. Not sure of a part fitting? Your e-bike model manufacturer’s YouTube page can be used for clarity. Check your tire pressure and inflate when needed.
Step 10: Your First Ride
After successfully fixing your new e-bike, it’s time for a test ride. Confirm that the bike is properly coupled. Power it on, turn on the display unit, check out the throttle, pedals, and brakes, and finally, you can take it for a spin.
Conclusion
Finally, assembling an e-bike requires a few minutes of concentration as you screw the bolt and adjust your seat post. Within 30 minutes, your e-bike should be fully set.
Get the right tools to make the setup process smoother and faster. But. it is also important to do a safety check to ensure that you are ready for the road.
Need help keeping your e-bike functional and efficient without stress? Furybikers has you covered with reliable e-bike news, reviews, and expert support.