Converting regular bikes to electric bikes is rewarding and possible. It may not be a cost-effective option, especially with the rise of e-bike subscription services. It sure brings satisfaction to handy riders. The ability to be creative makes the process a lot more fun than you can imagine.
If you are wondering how to make this magic happen, then you are in the right place. In this blog post, you will get a simple step-by-step guide on how to convert that analog bike into an electric bike that catches attention.
Step-by-Step Guide on How to Convert a Regular Bike to an E-bike
Choosing the Right E-bike Conversation Tools
Getting to know an e-bike mechanic starts with getting the right conversion tools. Choosing the right kits is dependent on your needs. For example, motors are of different types. There’s the front hub, rear hub, and mid-drive motor.
If you want to build an e-bike for city commuting, consider getting the front hub motor kit. For every commute that requires riding up and down hills, you should consider a rear hub motor kit. Finally, the mid-drive kit comes in handy if you prefer an electric bike with a natural riding experience. However, mid-drive is not an option because it can be complex to fix for an amateur rider.
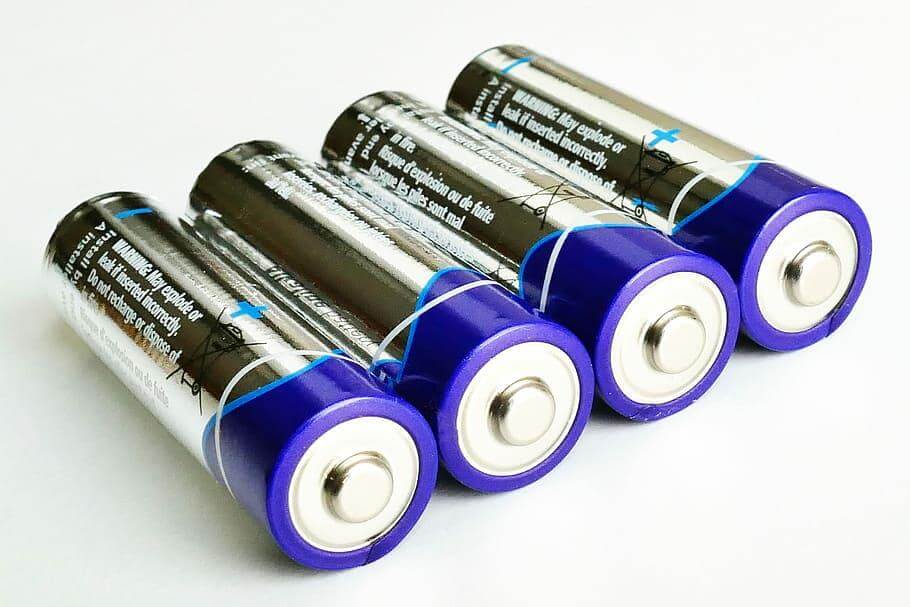
Another kit to consider is battery voltage and capacity. Pay attention to the voltage. This is important as higher voltage equals better range and performance. Motor power is also essential and should be decided based on your terrain and speed.
Compatibility with your regular bike frame, wheel size, and brake type is essential for these kits. Monitor to ensure that your bike matches the specific kits of your choice.
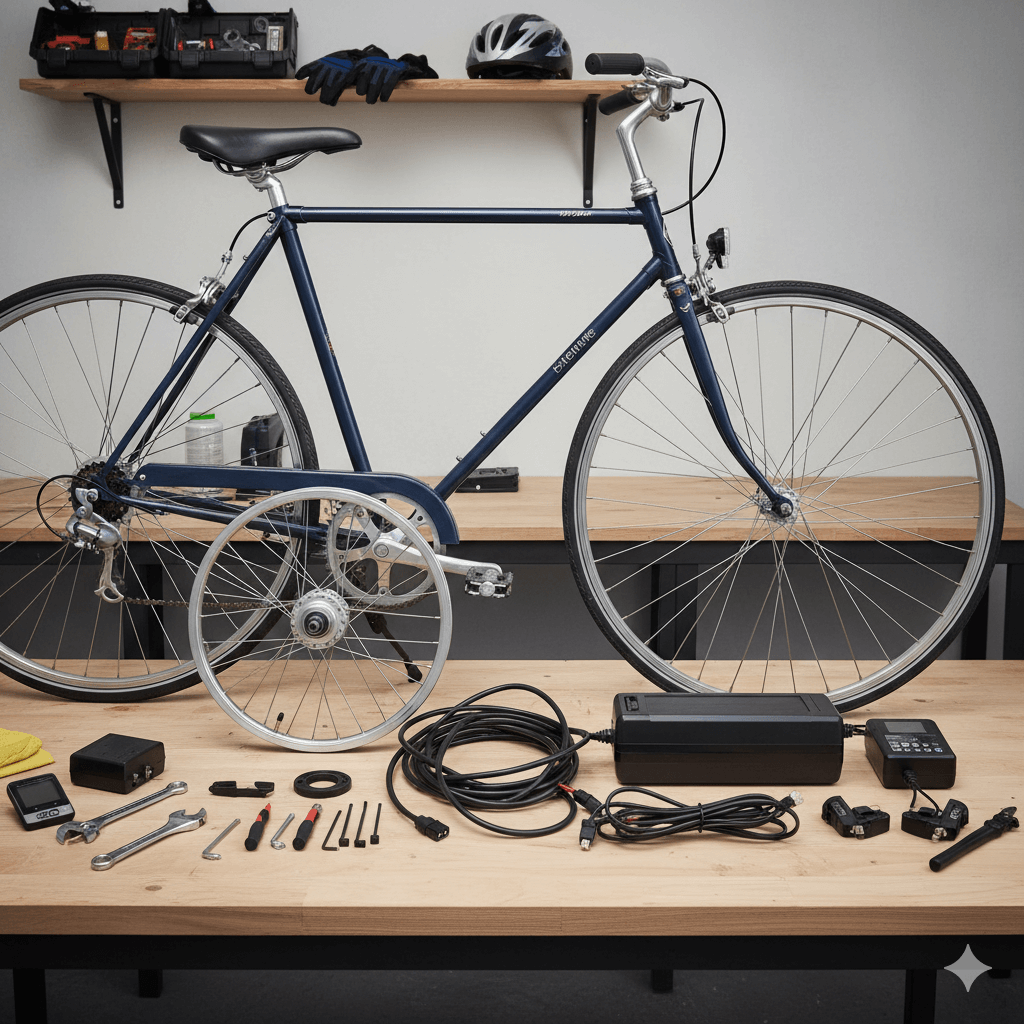
Time To Gather The Tools
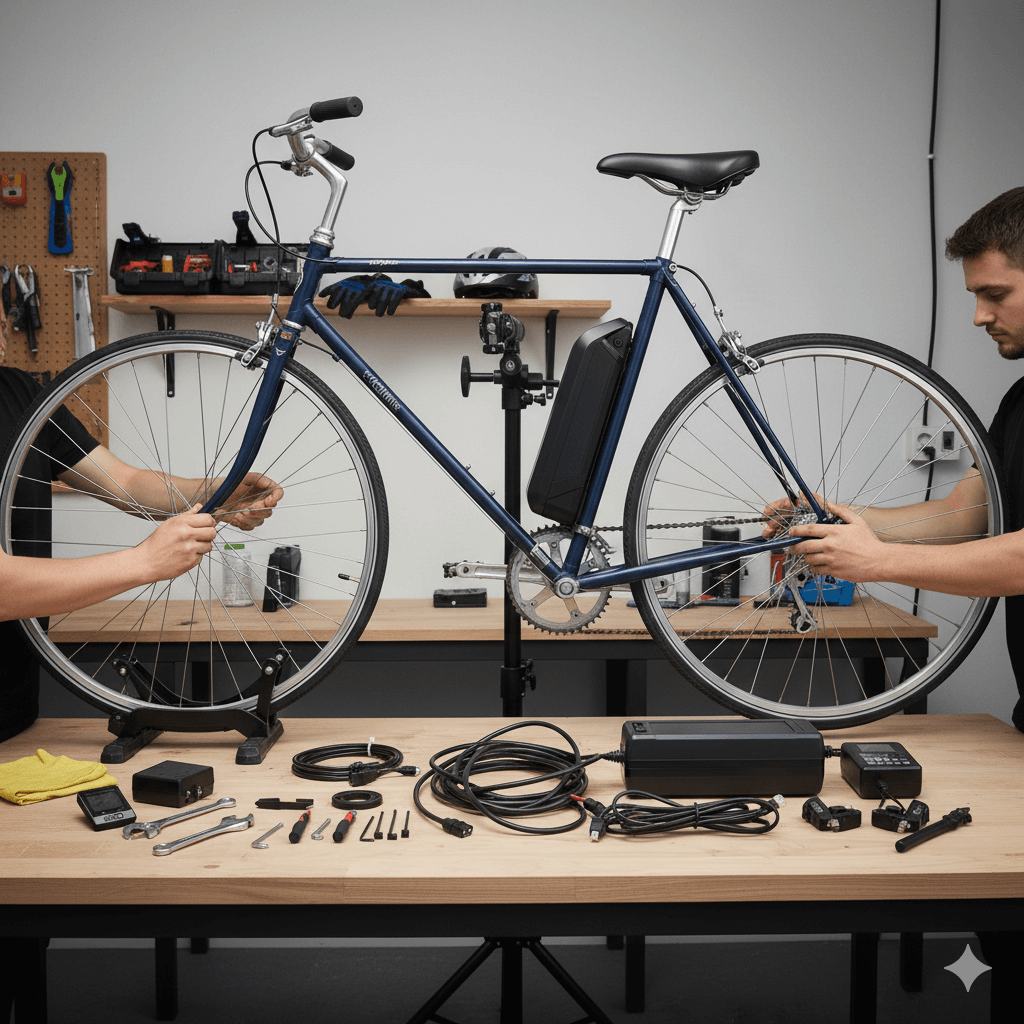
For a successful DIY e-bike conversion, you need to gather some tools. Below is a list of DIY e-bike conversion tools.
- Allen wrenches
- Wire cutter and electrical tapes for clean finishing
- Torque wrench for precise installation
- Screwdrivers will come in handy for bolts.
- Adjustable wrenches
For a stressless installation, pay attention to the kit manufacturer’s manual. Conversion kit manufacturers always provide a list of preferred tools.
Motor Installation Comes Next
Motor installation differs, although front and rear hubs share the same installation process. The mid-drive motor maintains a different method. Here is a step-by-step guide to motor installation:
Hub motor Installation (Front and Rear)
- Carefully remove your bike wheels and replace them with motorized wheels.
- Secure this wheel with the right bolts and nut.
- Lastly, ensure that the axle aligns with the dropout slot.
Mid-drive installation
- Begin the removal of the existing crankset using kit tools such as a puller, pedal wrench, and 8mm Allen wrench.
- Properly place the mid-drive motor in the bottom bracket.
- Reinstallation of the chain and belt should be done with utmost caution.
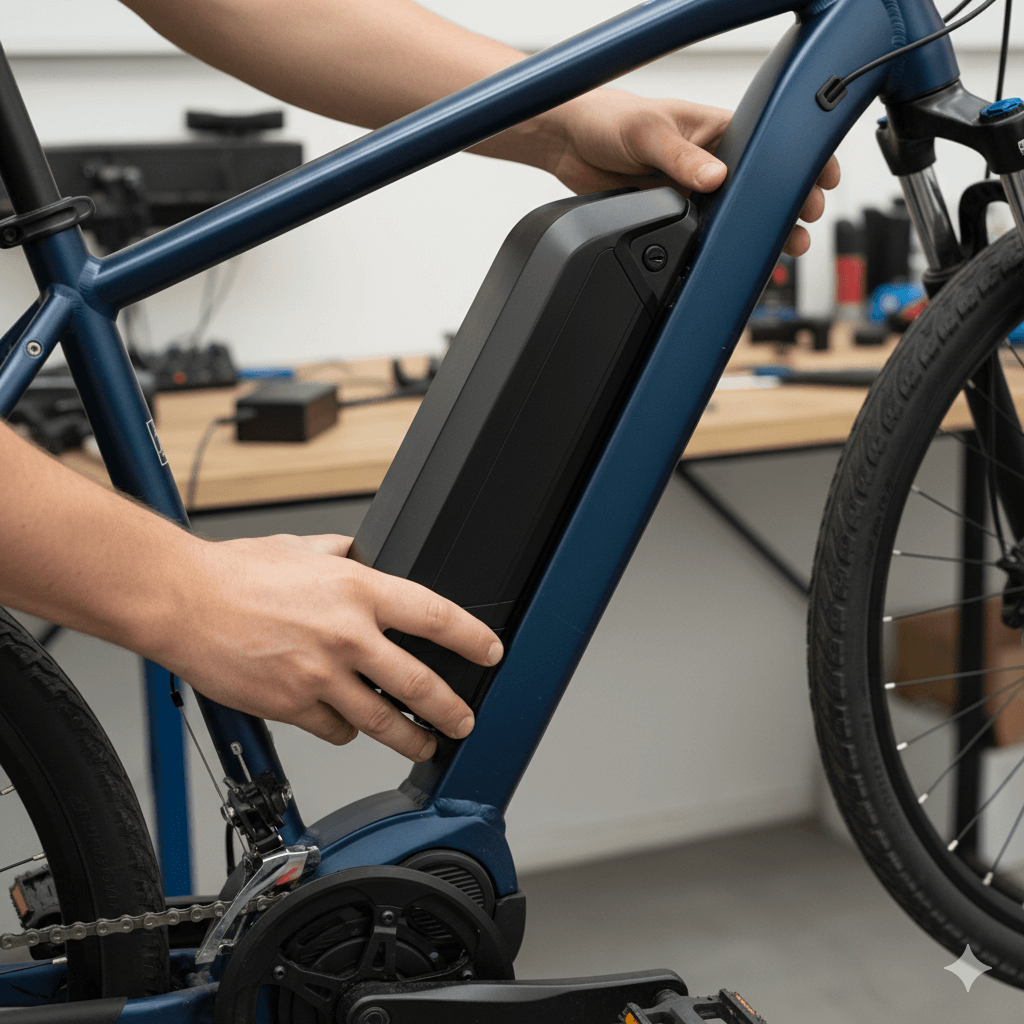
Battery installation
Remember, every kit comes with its installation guide. You must follow these guides to the letter. To ensure a balanced weight and good aesthetics, proper placement of the battery is crucial.
There are at least 3 common ways in which this battery can be placed. You can mount directly on the frame. Frame-mounted batteries keep the bike looking clean and also keep the weight centered. You can also use the bottle-style battery, placed by the side, or try the easiest installation, which is the rear rack style.
Ensure that whatever style you choose is properly secured, either with a lock or an artificial bracket, or a barricade. Carefully study your manual and follow the kit wiring guide to connect the motor and controller.
Installation of Control and Display
Do you need to monitor your converted bike speed, battery level, and assist mode? Well, that’s very possible even with a converted bike. Most kits come with controllers and displays. Others are already integrated.
To carefully install this display and controls, follow the steps below:
- Place and secure the display on the handlebars.
- Connect the battery and motor wiring to the controllers
- Check the connections, fittings, and installation.
- Turn on the system to confirm if the display is properly connected and functioning.
Test and Adjust
This is the final stage of converting a regular bike into an e-bike. At this stage, below is a list of what you need to check:
- You need to take time to confirm that there is no misalignment in the wheel.
- You need to confirm that the brake is functional.
- The gear shifting and pedal assist level should be tested.
- The throttle has to be responsive.
- This test is confirmed with a slow ride in a safe area.
Maintenance Tips For Converted E-bikes
Converted e-bikes require routine maintenance just like other stock e-bikes. Here are some tips that will help keep your e-bike in shape:
Battery care
You need to charge your e-bike battery regularly and avoid discharging it. Always ensure that your e-bike is stored indoors or in a cool room.
Motor Care
Motors are important and are not exempt from care. Pay attention to the bolts to ensure proper fitting. Ensure that it is dry at all times.
Brakes Check
On every ride stop, you place demands on your brakes. This is why you need to check if it’s in good shape frequently. Pads and rotors have to be checked regularly. This is because heavyweight demands more stopping power.
Tires Pressure
Ensure proper tire inflation to ensure safety and stability. Heavier bikes require properly inflated tires.
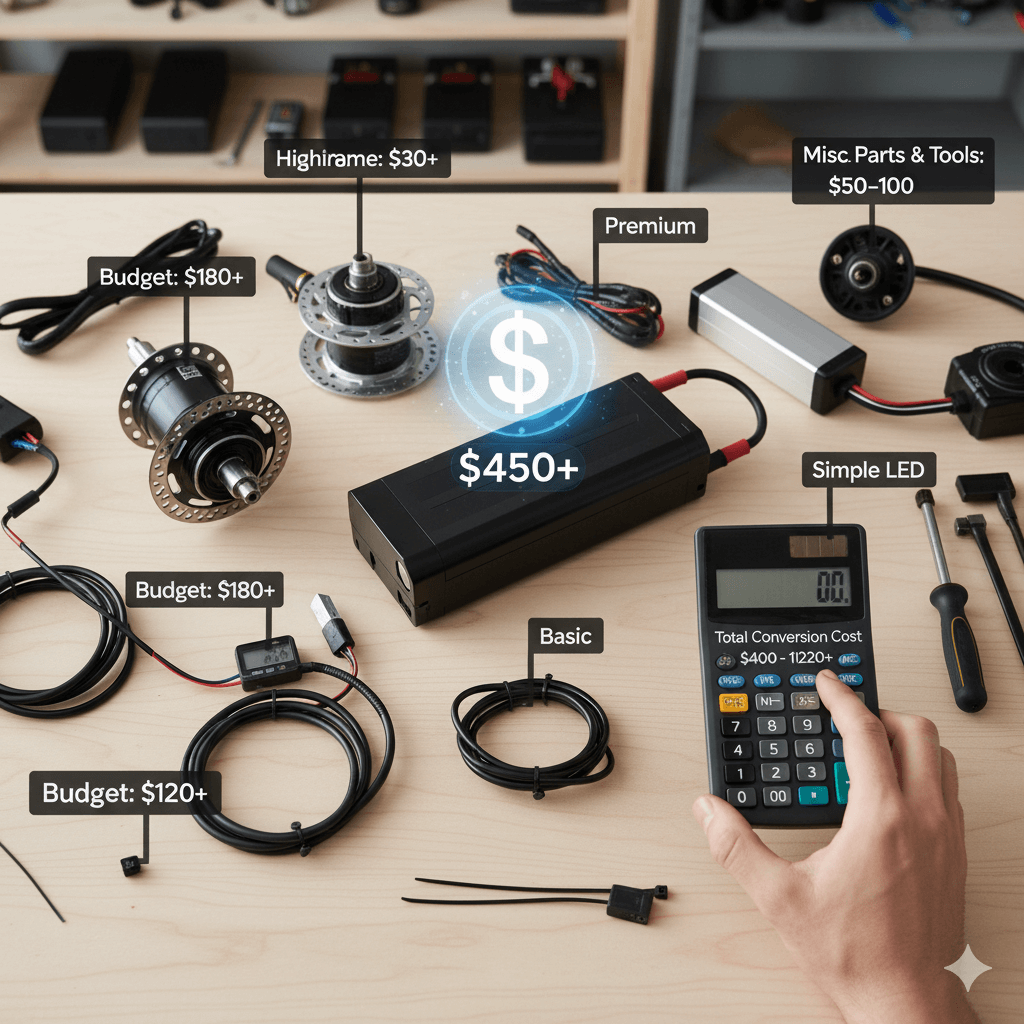
Cost Consideration
Converting a regular bike into an e-bike has a varying cost depending on the needs and kits acquired. Basic kits may cost $300 – $500, while mid-range kits can cost $900. The most expensive kits are used in building high-end e-bikes and can cost over $1000.
Conclusion
Converting a regular bike into an e-bike is a creative and rewarding idea. With the right kit, careful installation, and proper maintenance, you can achieve a high-performance e-bike. Beyond the guide, research the e-bike regulations and laws in your country to avoid legal issues.
Although converting a regular bike into an e-bike is not necessarily a cost-effective option, but an opportunity for you to customize your bike to your preference. Are you ready to electrify your ride? Follow our e-bike conversion guide above and turn that standard bike into a powerful and eye-catching e-bike.