Are you tired of that grinding or clicking sound made by your e-bike every time you ride? It’s time you take this electric bike warning seriously. Noisy e-bike bearings are a common problem among riders, so you are not alone. However, ignoring this warning can lead to costly mechanical damage.
Moreover, diagnosing noisy e-bike bearings doesn’t always require a certified mechanic. With some easy-to-use tools, you can catch the problem and prevent it yourself.

In this blog post, you’ll get access to a step-by-step guide on how to fix e-bike bearing noise. Furthermore, we will discuss what it means and finally, how to solve it.
Understanding E-BIKE Bearings and Why They Matter
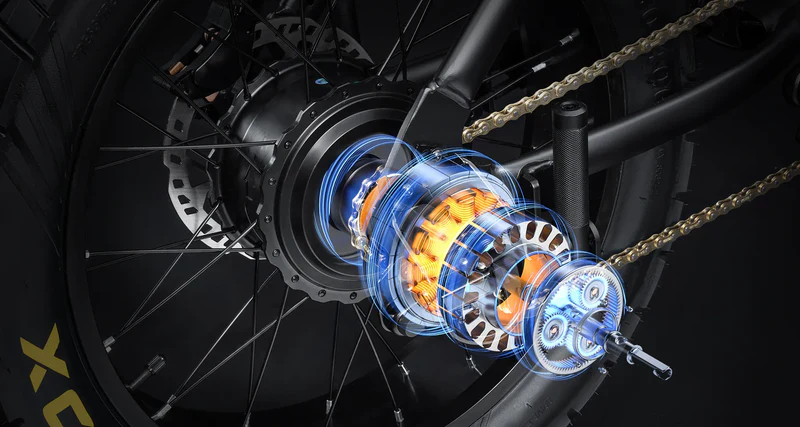
Bearings are the parts of your e-bike that reduce friction between the moving parts. They are small circular components that are found in your crank area, pedal, and motor casing. Sometimes you will find them around your steering area and wheel hubs.
This is the part that lets you pedal smoothly, so when it goes bad, the noise becomes a constant disturbance. Whether it’s a grinding, squeaking, clicking, or rattling noise. These are all signs that friction is building up inside the bearing house.
Common Symptoms of Noisy Bearings
How do you decide if that noise you hear is a bearing problem? Here are some signs of a contaminated bearing:
- A deep vibration feeling comes through the pedal and frame. A noise that is similar to rumbling or grinding.
- A loose bearing is causing a clicking or popping sound.
- Lack of lubricants in the bearing is responsible for the squealing sound.
- Rotation becomes difficult or forced for the wheel or crank.
- Jerky or dragged pedal assist caused by a faulty motor bearing is also a common sign.
The instant you identify the cause of the noise, it’s time to track the location.
Step 1: Locate Where the Noise Comes From
Noise tracking can be difficult because it can echo through the frame, making it hard to trace its sources. Follow the steps below to trace the noise:
1. Wheels Spin
- Lift your e-bike wheels off the ground
- Spin the wheels individually using your hands.
- Pay close attention to the hub area.
Tip: For a worn-out wheel hub bearing, you will hear a scraping or grinding sound.
2. Check the Crank Area
To determine whether the noise is emanating from the bottom bracket bearing, the sound will happen at every pedal rotation.
- Move the pedal backwards and forward.
- Pay attention to sounds like squeaks and clunks. Some can even give a grinding sound.
3. Wiggle the Crank Arm
To discover if you have a loose bearing in your bottom bracket:
Hold each side of the crank and push them together. If there is any noticeable movement, then you have just discovered the cause of the noise.
>>> You might also want to check out: Fast Charging vs. Slow Charging: What’s Best for E-Bikes?
4. Test the Headset Bearings
To discover if a damaged headset is the cause of the noise:
Use the front brake to rock the e-bike from front to back. If there are any sounds, such as clicking or knocking, near the head tube, then your headset bearing is either dry or damaged.
5. Listen Near the Motor
A possible sign of motor bearing issues is discovered when your pedal assist is on, and your cranks are rotating. If the noise occurs only when your e-bike motor is running, the problem might be a motor bearing. However, this will require professional servicing hands.
Step 2: Inspect for Visible Signs
Now that you have discovered the source of the noise, it’s time to perform a visual inspection
Here are questions that will guide your visual inspection:
- Are there parts that are rusted or corroded?
- Is there a grade leak or possibly a dry dusty bearing?
- Do you experience wobbling or uneven movement while riding?
- Are there any metal shavings around the bearing seals?
Tip: If any of these questions get a yes answer, then you either need to lubricate, clean, or replace the bearing.
Step 3: Identify the Type of Bearing Noise
Do you know that different sounds equate different problems? Here is a list of what your e-bike noise represents:
| Noise Type | Likely Cause | Location |
| Grinding | Dirt, rust, or worn balls | Wheel hubs, bottom bracket |
| Clicking | Loose bearing cup or bolt | Headset, pedals |
| Squeaking | Dry bearings, no grease | Crankset or hub |
| Rattling | Bearing play (looseness) | Any bearing housing |
| Whining (with motor on) | Worn motor bearings | Inside motor casing |
Tips: An alternative way to identify the problem is to use a mechanical stethoscope, which helps you pinpoint the exact problem.
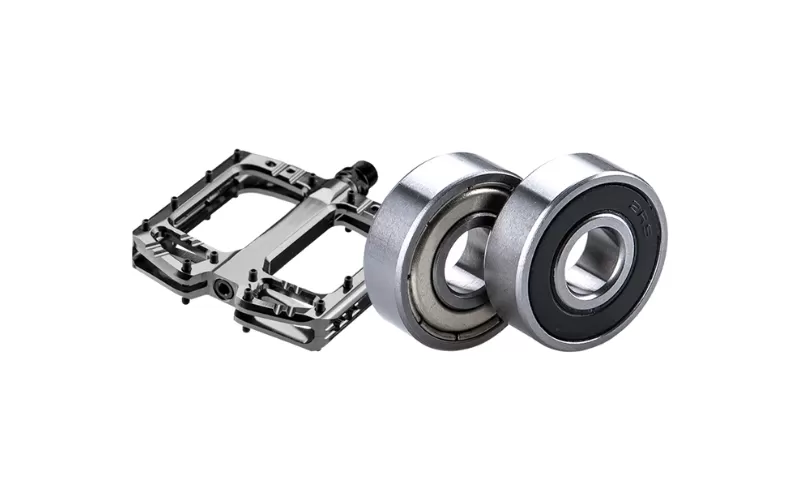
Step 4: Wheel Hub Bearings Check
For a complete wheel hub bearing check, you will need a:
- Adjustable wrench and 15mm cone wrench
- Degreaser and a grease
- A clean rag or even a towel
How to Diagnose and Fix:
- Carefully remove wheels from the frame.
- Rotate the axle; it should spin quietly and freely.
- If the axle feels tight, release the nut holding it to remove the bearing.
- Properly clean with a degreaser and regrease to ensure there’s no form of dryness.
- Reassemble and replace any bearing balls.

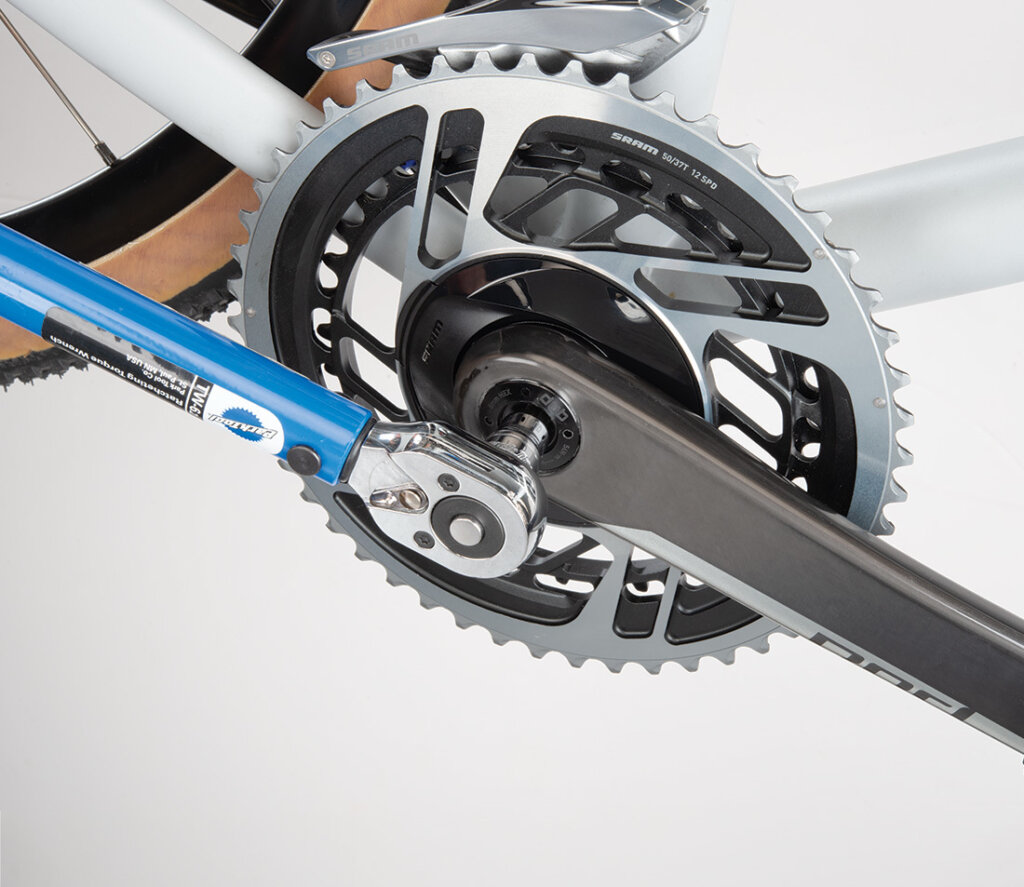
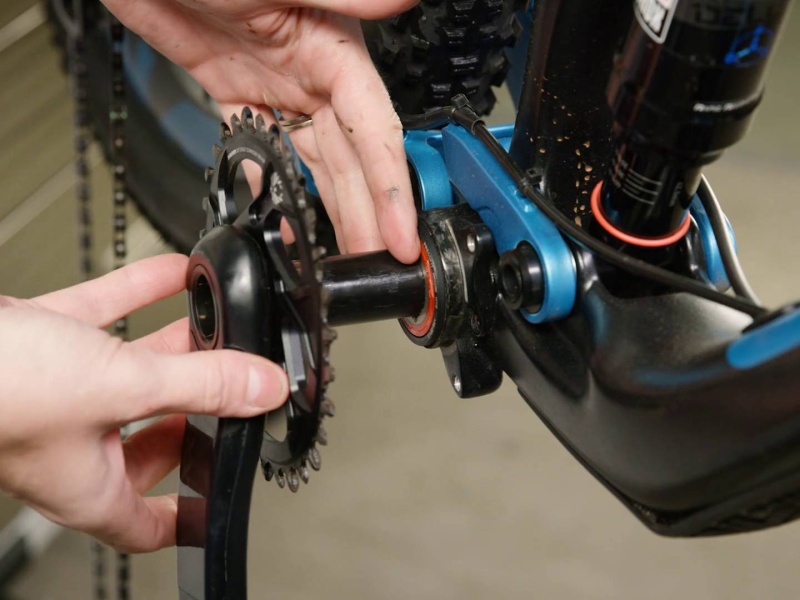
Step 5: Bottom Bracket Bearings Check
Bottom bearings remain one of the most common causes of e-bike noisy bearings. Below is a list of tools to get the job done:
- Torque wrench
- Bottom bracket tools
- Grease
- Allen wrench set
Steps to resolve the bottom bracket issue:
- Use your crank puller to remove the crank arm.
- Check the metal cylinder connecting your cranks.
- Spin the spindle, and listen to catch any form of noise, either clicking or grinding. If there’s a sound, your bearing has been badly affected.
- Remove the screw from the bottom bracket cups to carefully remove them for inspection.
- Do a quick cleaning, then apply grease.
- Reinstall the loosened part and ensure to follow the manufacturer’s torque specifications.
Tip: If the sound persists after following the step above, replace your bottom bracket.
Step 6: Headset Bearing Check
For beginners, your e-bike headset is the part that connects your fork to the frame. Therefore, a noisy bearing most of the time can affect your e-bike’s steering control
How to Diagnose:
- Rock your e-bike from front to back while holding the front brake.
- Listen for any clicking sound, either around the handlebars or the frame.
- Rotate the handlebars side to side with the wheels lifted.
- If there are any stiff feelings or a gritty sound, then your headset might need a quick cleaning or a replacement.
Fix:
- Remove the cap and stem bolts.
- Gently remove your fork.
- Clean to inspect the bearing
- Replace if there’s a damaged part
- Apply grease afterwards
- Reassemble
- Adjust preload
Step 7: Pedal Bearings Check
The pedal also has a tiny bearing that can wear out quickly with heavy use.
How to Test:
- Pedal bearing check starts with spinning the pedal using your hands.
- Listen for any roughness or squeaking sounds.
- You can also wiggle each side for a play check.
Fix:
For loose bearing :
- Remove the pedal cap and tighten the bearing cone.
- Do a proper cleaning.
- Use a lubricant on the thread.
- Reinstall the pedal after greasing.
Step 8: Motor Bearing Noise (Advanced)
Do you know that your e-bike motor, especially the mid-drive type, has an internal bearing? This means they can also develop bearing problems at any time.
How to Identify Motor Bearing Noise:
- Noise only occurs whenever you engage your e-bike motor.
- The noise is traced to the motor housing and not the wheel or crank.
- As you mount pedal pressure, you notice the sound changes pitch; then it is a motor bearing issue.
Watch this short video to see if your e-bike bearings are worn out:
Unfortunately, trying a DIY for a motor bearing issue will void your warranty. Moreover, this requires specialised tools, so it’s best to take your e-bike to the workshop for a quick repair.
Step 9: Preventing Bearing Noise
Now that your e-bike bearing noise has been sorted, it’s time to practice proper maintenance to prevent it from recurring.
Maintenance Tips:
- Avoid high-pressure washing. If you practice high pressure, you risk forcing dirt into the bearing seals.
- Perform regular cleaning to prevent dirt from piling up in the bearing area.
- Do a 6 or 12-month regimen, depending on how often you ride your e-bike.
- Check your torques on the wheel and crank to ensure that there are no loose parts.
- Always check your bearing after every rainy or wet ride.
Common Mistakes to Avoid
| Mistake | Why It’s a Problem |
| Over-tightening bearings | Causes drag and premature wear |
| Riding with noisy bearings | Leads to permanent damage |
| Using the wrong grease | Can break down under heat or speed |
| Ignoring loose bolts | Amplifies bearing wear |
| Pressure washing near hubs | Forces water into sealed areas |
Final Thoughts
A noisy e-bike bearing is a minor problem if caught early, but if left unchecked, it can cause significant damage. Learning to diagnose this issue and maintaining it can afford riders a smoother ride. Aside from your experience, your e-bike will also enjoy good motor efficiency and better handling.
Do your simple check, which includes spinning, listening, and also feeling. Use lubricants when necessary, get the right tools, and also understand your e-bike mechanics.
Build confidence by following our step-by-step guide above for the next time your e-bike starts making funny sounds. If you follow the steps accordingly, your e-bike bearing will thank you.