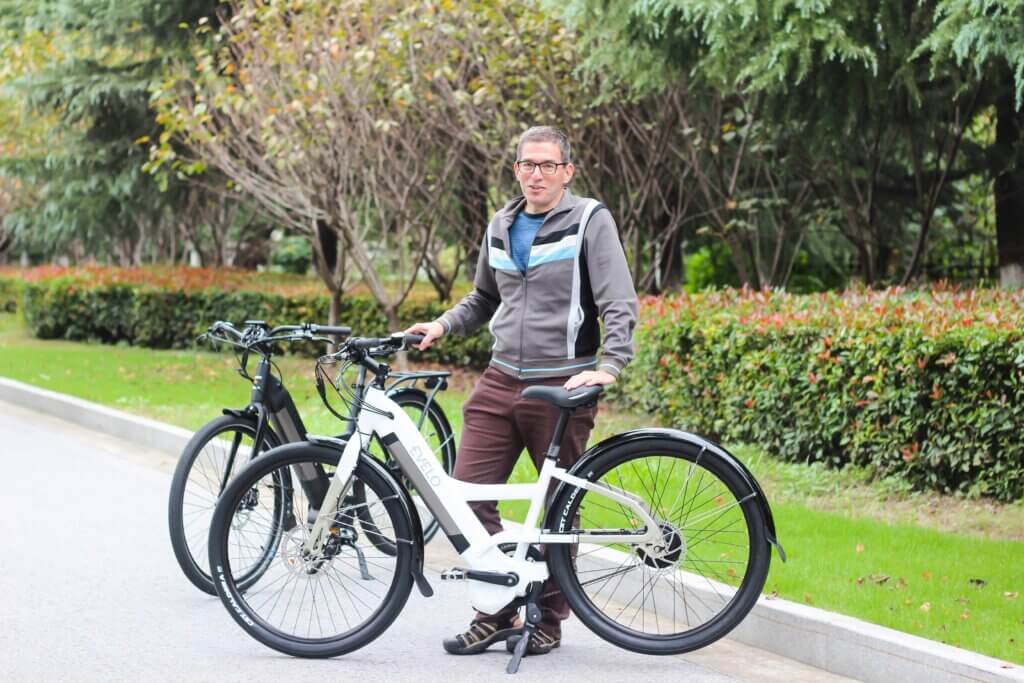
Now that winter is over, it’s time to dust off your e-bike for a fun-filled spring preparation. Whether you are an active or a casual rider, it’s crucial to care for your e-bike after long use. This offers you safety and also ensures a memorable experience.
In this blog post, we will walk you through everything you need to know about e-bike riding in spring. We will further discuss tips on e-bike maintenance for 100% performance. Are you ready to enjoy this spring season on your e-bike? Let’s get started.
Why Preparing Your E-Bike for Spring Matters
There’s no doubt that winter takes its toll even on the best-performing e-bikes. The cold temperatures, untold rain, salt, and mud are silently damaging e-bike components. Even when stored for a long time, the chances of degradation of parts such as chains and tires are high.
Preparing your e-bike for spring extends its battery. Besides, it makes it easy to discover if the motor and battery are efficient. Proper spring care is the shortcut to saving on costly repairs.
Moreover, spring maintenance and cleaning is an easy way to save yourself a bigger headache later. Clean up and enjoy a smoother ride.
Step 1: Give Your E-Bike a Deep Clean
Cleaning is the first step to take before commencing the spring maintenance. However, it’s not just any cleaning; you need a deep cleaning. All hidden dirt and salt buildup that can interfere with the e-bike functionality needs to be wiped out. To achieve this, we will start with what you will need:
Equipment For Deep Cleaning:
- Degreaser for drivetrain.
- Microfiber cloth.
- Chain lubricant.
- Soft brushes or sponges.
- Mild bike cleaner or soap.
How to Clean Your E-Bike:
- Before deep cleaning, carefully remove your battery and display. This is because it can be affected by moisture. Find a cool place to keep them safe.
- Use a low-pressure hose to achieve a light rinse. You can also use a damp cloth to ensure that water doesn’t touch sensitive parts.
- Next on the list should be the cleaning of your chains, cassette, and derailleurs. Use a bike-specific degreaser.
- Hard-to-reach areas on your e-bike need special attention. This detailed cleaning requires the frame to be wiped clean using soapy water.
- After washing with soap, use a microfiber cloth for drying.
- After the electric bike has been completely dry, apply lubricant to the chain.
Pro tip: Prevent damaging your e-bike’s paint and rubber seals. Do not apply harsh chemicals. Sometimes this chemical soap can strip away your lubricants.
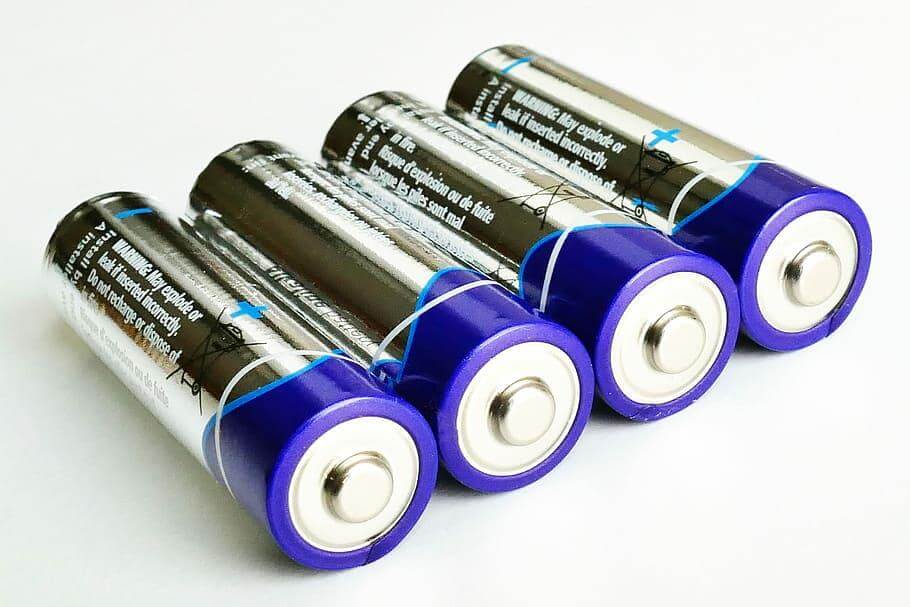
Step 2: Check and Charge the Battery
E-bike batteries are an essential part of an e-bike that requires constant warming. Having been left idle for days or even months, you will need to pay some attention to this integral part.
Battery Care Tips for Spring:
- Checking for corrosion, cracks, and physical damage in the battery is important.
- After a long storage with your battery at 40%-60%, it is essential to charge your battery. This should be done before your first ride.
- Cleaning the battery terminal allows inspection of the contact. This should be done with a dry cloth.
- Engage the battery by turning on the e-bike. Wait till the display and motor are smoothly engaged before turning off.
Note: Charging should not be done immediately after removing the e-bike from the cold store. Keep in a warm environment for minutes before charging for optimal charging efficiency.
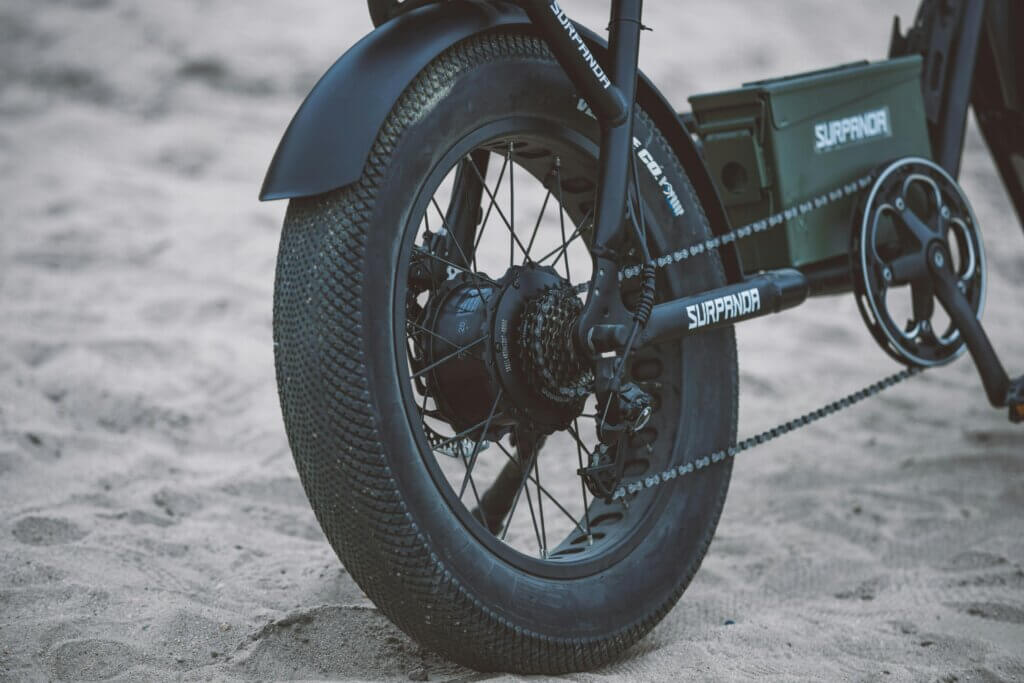
Step 3: Inspect Your Tires and Wheels
It’s no news that when tires are stored in cold weather, their pressure drops. Sometimes, the tire rubber might even harden. This is why it is crucial to inspect it.
What to Do:
- The first thing to do is to check the tire pressure. You need to ensure that it meets the recommended PSI by the manufacturer. The information about the PSI is always printed on the sidewall of the tire.
- Inspect the tread for possible cracks and flat spots. Lighter and smoother summer tread works just fine for a spring ride.
- Confirm the rims are not bent and can perform a 360-degree spin with the wheels to ensure they are moving freely.
- Importantly, check the spokes to ensure they are not loose.
Note: Longer spring rides require properly inflated tires. When tires are properly maintained and inflated, battery efficiency and better handling are achieved.
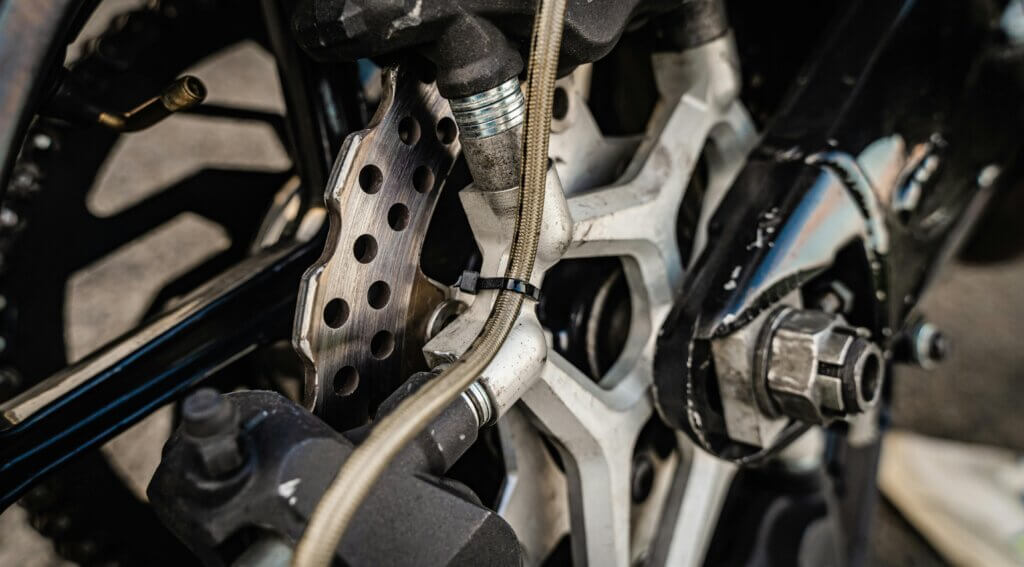
Step 4: Examine the Brakes
The brake is a non-negotiable part of an e-bike. The safety and efficiency of an e-bike are dependent on it. Meanwhile, during winter brake pads dry out easily, and even cables stiffen. Therefore, maintenance of e-bike brakes before the spring ride is essential.
Brake Maintenance Tips:
- Replace pads that are thinning or of uneven wear. The benchmark for replacement is when the tire thickness is less than 1mm.
- Do a lever test to confirm their firmness. If it feels spongy, then it needs a replacement.
- The rotor should be thoroughly cleansed using isopropyl alcohol.
- For riders with a mechanical brake, tighten your cable in case the levers pull too far.
Note: Hydraulic brakes, either front or rear, need even pressure and no fluid leaks. You will achieve this criterion by squeezing each lever. Therefore, if the brake feels weak, then there’s a need for professional bleed servicing.
Step 5: Test the Drivetrain
Testing your drivetrain, which includes the cassette, chains, and crankset, will help you understand the smooth power transfer that occurs. For the efficiency of your ride, check to see if the vehicle is moving smoothly.
How to Tune It:
- Test all gears to ensure that they shift swiftly without grinding.
- Proper greasing of the chains to prevent dryness and rustiness
- Adjust derailleur alignment if shifting feels rough.
- Use a chain wear tool to check for any sign of slackness or stretch in the chain.
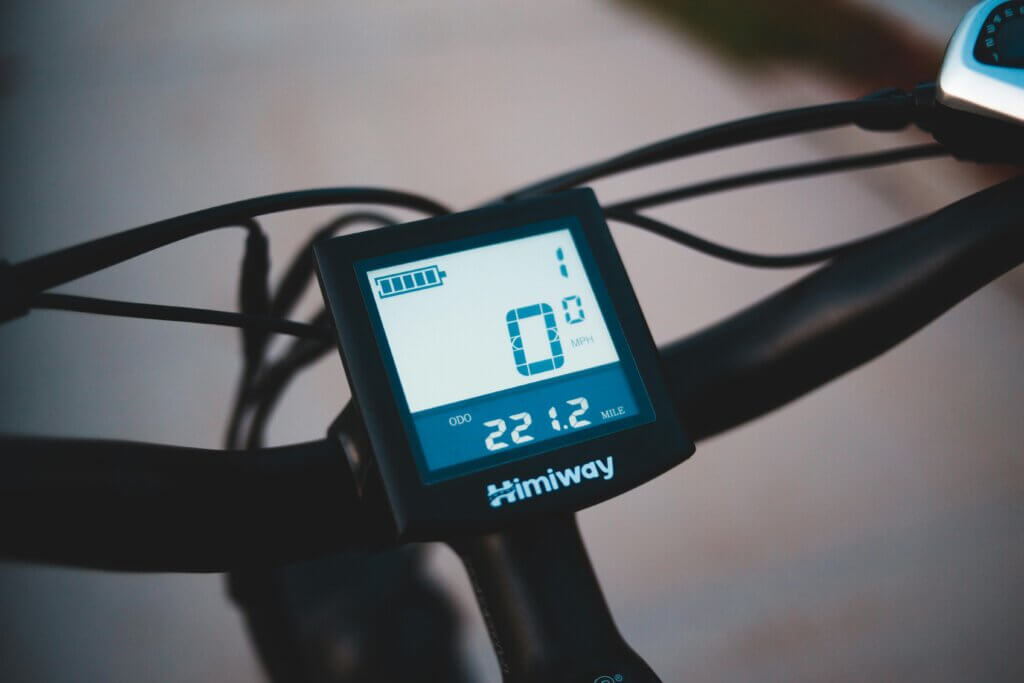
Step 6: Inspect Electrical Components
Inspecting the electrical components is a frosting on the cake for spring riding preparation. This part keeps the e-bike alive. Therefore, confirm that your electronics are functioning.
Key Checks:
- The cables and connectors should be checked for any sign of fraying and loose connections. This can be caused by corrosion, so please take a timeout from your tight schedule.
- Examine the display and control. Inspect the throttle assist mode and also the light.
- Finally, a test ride to confirm the motor efficiency. Pay close attention to any usual noises.
Pro tips: If the pedal assists are jerky or lose power every time you engage them, then this is a sign of sensor misalignment. A simple correction is to check for possible loose connections.

Step 7: Adjust Suspension and Frame Bolts
Suspension setting and frame integrity are questioned during winter storage. This shift in temperature really affects this e-bike component.
- This is the finishing line, and it needs to be done correctly, as most parts of the e-bike require a major bolt. Check that your handlebars, pedals, seat post, and rack are tightened. Use a torque wrench that is manufacturer-approved.
- Suspension compressed smoothly without stiffness to ensure proper performance. For e-bikes with an air shock, adjusting the air pressure isn’t necessary.
Note: Tightening of this bolt will prevent dangerous looseness during your first ride in the spring. Take a few minutes to get this done.
Step 8: Update Software and Accessories
Many modern e-bikes have upgraded their smart systems and apps, therefore making them stand out. If you are using a modern e-bike, update its firmware.
- To update, you need to connect to the e-bike app and check for firmware updates.
- Calibrate the torque sensors, especially if your electric bike model allows it.
- Test the light, phone mount, and GPS trackers to ensure that they are properly secured and functioning.
Step 9: Take a Short Test Ride
A short test ride is the next step after ensuring that all components are in good shape. This is the time to have fun, but don’t get carried away. Remember to pay attention to how it feels and sounds.
During the ride, pay attention to:
- Shift and smoothness in the gear response.
- Brake quick stopping power.
- Possible noises or sounds from the motor and drivetrain.
- Handling and convenience
Note: If you notice anything at all, please fix it before you begin your longer spring adventures.

Step 10: Schedule Professional Maintenance
Prioritizing a yearly professional check-up isn’t a bad idea after all. So, despite being comfortable with your e-bike’s basic tune-up, you might need a certified technician to perform the following check-up for you:
- Run a diagnostic check on your e-bike battery and motor. This way, they can find out things you missed.
- Perform a proper firmware update
- For hydraulic users, they can help with brake bleeding
- Deep drivetrain cleaning is delicate for both beginner and intermediate riders. You can request the service of bike technicians.
Pro tip: A professional inspection facilitates a proper optimization, performance, and safety of an e-bike.
Final Thoughts
Spring is a season for freshness, and of course, you deserve one too. By putting a little effort into your e-bike preparation this season, your e-bike gets to perform just as brand new. Therefore, it gives you a smooth and stress-free ride.
Build confidence and ride like a pro by following the tips above this season. Protect your investment and enjoy a cleaner, faster, and more reliable trip. Follow Furybikers for a new step-by-step guide this season.