Without a doubt, the battery remains the heart of your electric bike. So when it begins to act up, it feels like the world of your e-bike is in shambles.
However, when you begin to notice changes like slow charging, reduced range and sudden shutdown, it is best to get it tested. First, before the total shutdown, check your battery voltage.
Compared to other checkup routines, testing for voltage is easier. It is a safe step that gives you information about the health of your e-bike.
This is why in this step-by-step guide, you will learn how to test an e-bike battery voltage with a multimeter. We will also discuss what each reading means, mistakes to avoid while taking the reading and finally, some safety tips.
What You Need
Below are the items you need to proceed with the e-bike battery voltage test:
- Notebook or mobile device to record reading
- Protective gloves
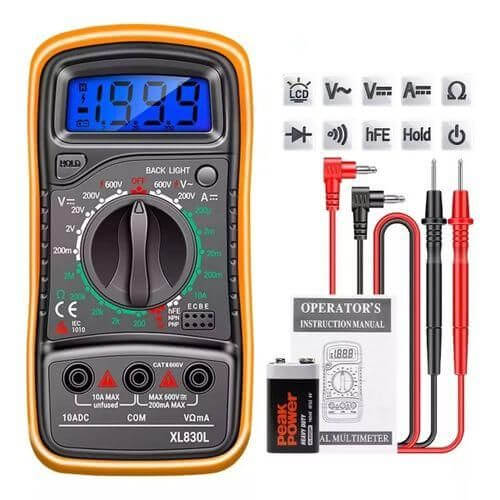
- Digital multimeter
- Safety glasses
- The detachable battery
Why You Should Test Your E-Bike Battery Voltage
Regular testing helps you:
- Diagnose charging problems
- Identify the dead cell
- Extend battery life through constant maintenance.
- Know when to consider replacement over repair.
- Prevent sudden power loss while riding
With voltage testing, you can monitor the battery health of the e-bike.
How to Test E-Bike Battery Voltage with a Multimeter
Step 1
Remove the Battery from the E-Bike
Turn off your e-bike before proceeding with battery removal. Ensure that the e-bike cools down before this removal is done.
Step 2
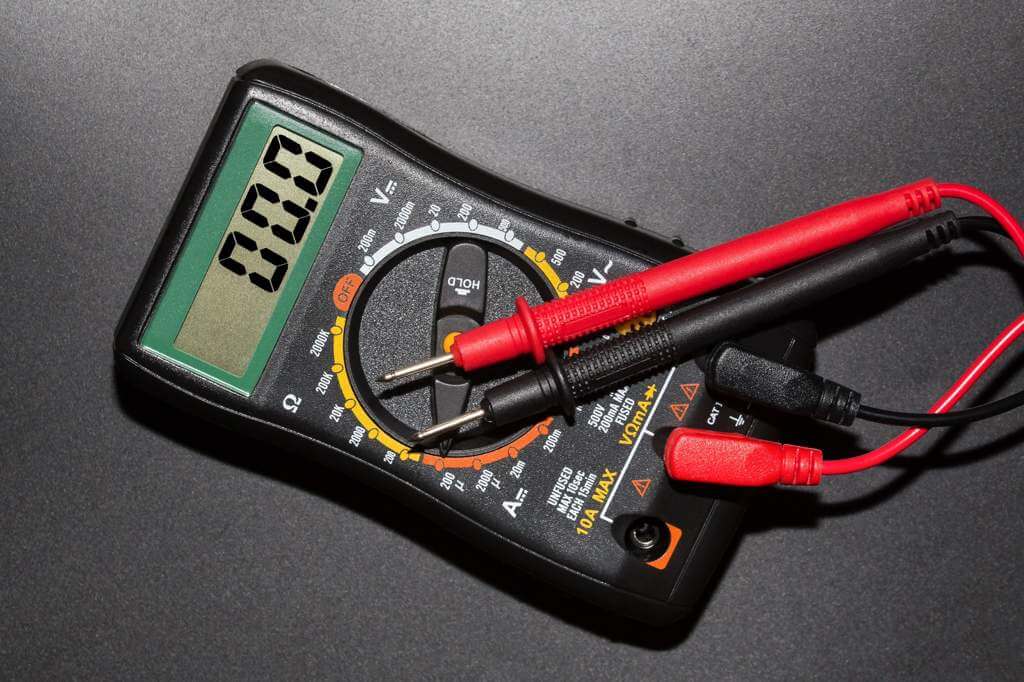
Set Your Multimeter to DC Voltage
For most e-bike batteries (36V, 48V, 52V), set the range to at least 200V.
With the understanding that your e-bike battery, which is commonly lithium-ion, uses direct voltage. This is why it’s best to set your multimeter to DCV or V.
Step 3
Locate the Battery Terminals
Every e-bike battery has:
- Positive terminal ( + )
- Negative terminal ( – )
They are usually marked or colour-coded (red and black).
If not, check your battery’s manual or manufacturer’s website.
Step 4
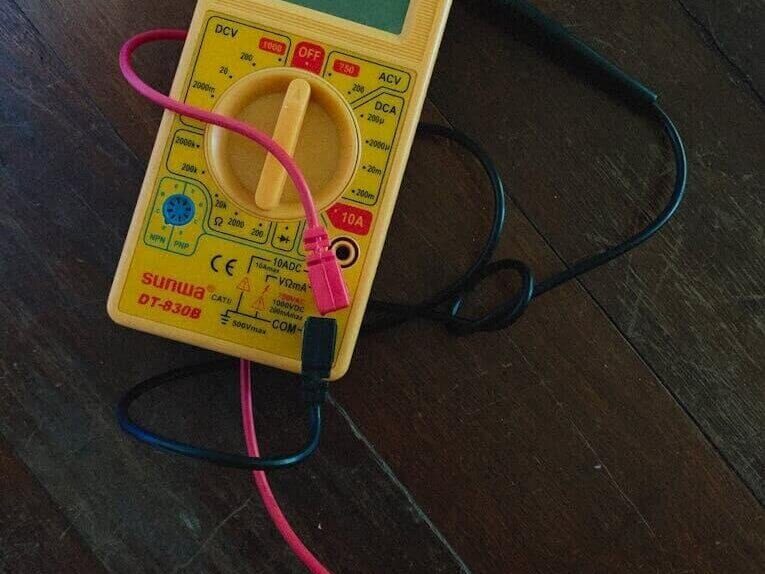
Touch the Multimeter Probes to the Battery Terminals
Hold the probes firmly and avoid touching metal parts with your hands to prevent short circuits. Red probes are linked to the positive terminal, while the black probe is connected to the negative terminal.
Step 5
Read the Multimeter Voltage
Once you connect your multimeter, it will display a number. The number shown is your e-bike battery voltage.
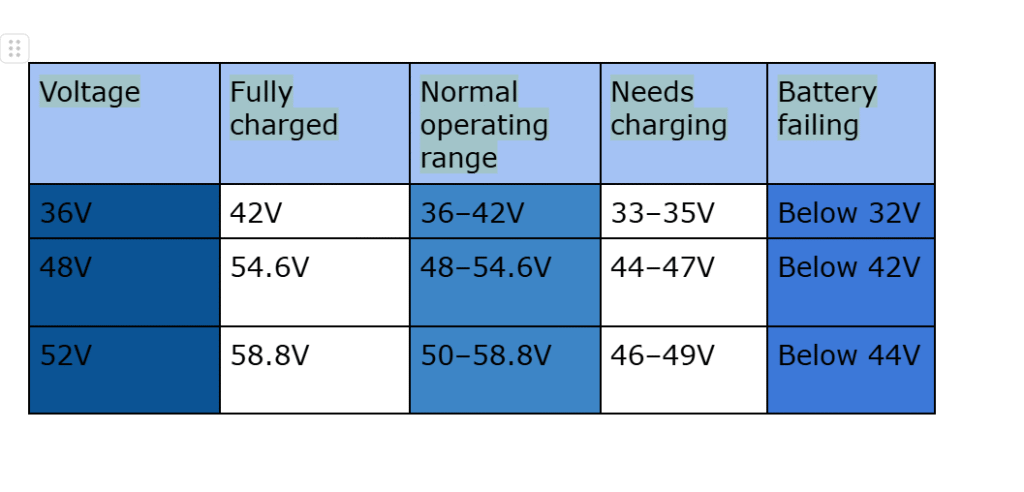
Understanding Your Voltage Reading
Below are common e-bike battery types and their expected healthy voltage ranges.
If Your Voltage Is Too Low
A significantly low reading means:
- The battery has dropped below the safe discharge level
- The BMS may be preventing it from turning on
- A cell group could be dead
- The charger may be faulty
If your battery is far below the recommended minimum voltage, do not attempt to revive it at home. Seek a battery repair specialist.

How to Test E-Bike Battery Voltage Under Load
Testing your e-bike battery voltage with a load is one way to ensure its performance. This is because a battery might read well but still perform poorly when the motor starts running. Performing a load test requires only a few steps.
- Mount your battery on the bike carefully if you have detached it.
- Turn on the bike’s power and also activate the display to monitor the voltage.
- Engage your pedal assist or throttle and watch your display to see the voltage drop.
Interpreting load test results:
If there’s a voltage drop of about 2-4V, then that is normal; however, a decline of 5-10V signals a weakening cell. Any drop below 10V is a sign that the battery is already at the failing stage.
How to Test an E-Bike Battery Without a Charger
Do you know that even with a broken or missing charger, your multimeter will still function properly? A healthy battery will always read close to its full charge capacity. And if the battery voltage reading is low, then even a charger can’t save it.
Signs Your E-Bike Battery Is Failing
Many signs reveal when a battery is failing; the first signs are rapid voltage drops and faster power drain. The second possible sign is overheating of the battery and quick shutoffs of the battery under load. Lastly, the battery discharges the instant you remove the charger.
Tip: If your voltage reading is significantly below the expected normal, then your battery requires attention. And when two of these signs are observed, your battery is close to its end.
Safety Tips When Testing E-Bike Batteries
You must stay safe while getting your battery tested. Below are dos and don’ts when testing your battery:
Do’s
- Protect important parts such as the eyes and hands using gloves and safety glasses.
- Use insulated multimeter probes.
- Keep the terminal covered.
Don’t
- Do not test a swollen or physically damaged battery.
- Do not open your battery cage at any point except if you are a certified technician.
- Do not store an e-bike battery close to flammable materials.
Common Mistakes to Avoid
There are several mistakes e-cyclists make with their e-bike that could lead to the complete depletion of its battery.
- Using AC mode when you should use DC mode.
- Misreading the voltage range.
- Holding probes with a wet hand.
- Testing a hot battery immediately after a ride is wrong and should be avoided.
- Touching terminals together is bad, and you should take caution.
When Should You Replace Your E-Bike Battery?
Many battery problems can be resolved, but they have to be discovered early. But there are cases where repairs aren’t an option. For example, when your battery voltage drops quickly under loads, or when it can’t hold a charge longer than 70%.
Other instances include when the battery experiences frequent, sudden shutdowns. To sum up, if the voltage is below the safe threshold, then it’s time for a quick replacement.
Note: Most batteries last 500-1000 charge cycles. This is mostly achieved in 3 to 5 years.
Conclusion
Testing e-bike battery voltage with a multimeter is one of the effective ways to diagnose its performance. With your multimeter, you can diagnose your battery’s state of charge and overall battery health. You also get to see the current voltage to decide if there’s a need for repair or replacement.
Finally, regular voltage helps to prevent a sudden breakdown of your e-bike. Hence, extending your battery lifespan and keeping your e-bike in its best performance.
First, set your multimeter to DV voltage. Afterwards, place a red probe on the positive terminal and a black probe on the negative terminal. Now, read the voltage displayed.
When your battery is fully charged, the voltage readings vary based on the battery capacity. For instance, an e-bike battery with 36V will read 42V when fully charged, while a 48V battery will read 54.6V. If your e-bike battery is 52V, you will get a 58.8V reading.
Yes, you can test your electric bike battery without a charger. Using a multimeter tester gives a more accurate result.
If your e-battery readings are low, the possible causes may be overcharging or a faulty charger. Another reason is a faulty Battery Management System(BMS) and cell degradation.
E-bike battery tests should be performed at least once a week or once a month, depending on the e-bike usage.